Monday, February 27, 2012

True Kiln Opening - Video

Here is a video I made last week after Joseph and I opened up the small wood kiln. This is a true kiln opening, not just a pottery sale! This video is also on YouTube, but for some reason I cannot upload the video into my blog at this time!

Sunday, February 26, 2012

White Clay and the Kiln Shed!

A few weeks ago we started leveling the ground out at the farm for the kiln/machine shed. It took a little while, but was ready enough to start putting holes in the ground!
Grading the surface

Leveled out

Last weekend we drilled holes (thank goodness we didn't have to hand dig them) about 3.5 feet in the ground. We were going to go deeper, but the drill did not go down much further and the clay was a bit of a bear.
Drilling


Now, mind you, the clay was a bear to those at the site who were NOT potters. Because the most exciting thing (to me) of the day was hitting white clay at the bottom of the holes! My brother was laughing at me I was so giddy! I do not know yet whether it is a stoneware clay, but I suspect that if the Loy potters just east of me (or southeast) had stoneware in the 19th-century, then it could be! I am hopeful and very excited! 
Photo inside of a post hole with white clay in the upper-right corner of the hole

White clay!

My other half devised an attachment for the chainsaw in order to saw posts from cedar trees on our property.
Attachment

Sawing posts

Before the day was done last weekend, we put one post in the ground with three more holes dug out! It's a start!
First post in the ground!

Wednesday, February 22, 2012

Teapot Challenge


Should you be looking for a good challenge, learn how to make a vessel in the manner by which another potter does. Same tools, same techniques, same weight of clay. Try teapots. Joseph had been making some teapots last week and I was watching him, seeing how he attached his spouts, made the lids, etc. By the end of the week I decided to make a few of my own, and as I went to make the teapot, Joseph said to make it in the same shape as his. This bellied-out base is somewhat harder to achieve than it may look. It certainly fooled me! I went through about 15 teapots before I really started getting the hang of it and stopped making the walls too thin!
Spouts thrown off the hump

Joseph also has a different way of making spouts than what I was used to, so that was a bit of a late-evening nightmare trying to get the hang of it. Nothing really major to describe, just the shape, thinness, and throwing off of the hump was a lot to control!
Lids

So I got the shape down pretty well (FINALLY), made the lids and let everything dry out a bit before assembling and putting handles on them.
Teapot bodies with spouts
Today I got to decorate the little beasts and was very pleased with the decorations. I am excited to see the results. The darker slip is a manganese slip and should be blackish-brown. The two teapots with slip trailing over most of the upper-half will be glazed entirely in a yellow/brown ash glaze. All of these are going in the salt kiln in April.

Here are my decorations in detail:


I attempted to layer the slips in order to see what the colors would do over one another

I even put a little swirl-action on the top of the knob!

Sunday, February 19, 2012

Frozen Studio


Last weekend we had a cold snap here in North Carolina and the temperatures dipped into the teens and twenties (Fahrenheit) with high winds. Joseph made a fire in the wood stove on Saturday, but with the winds the fire went out and the wind whipped into the studio. When I got to Joseph's on Monday, he met me at the car (first sign there was something wrong), and told me that the studio froze over the weekend, and I bravely tried not to picture all of my pots destroyed.
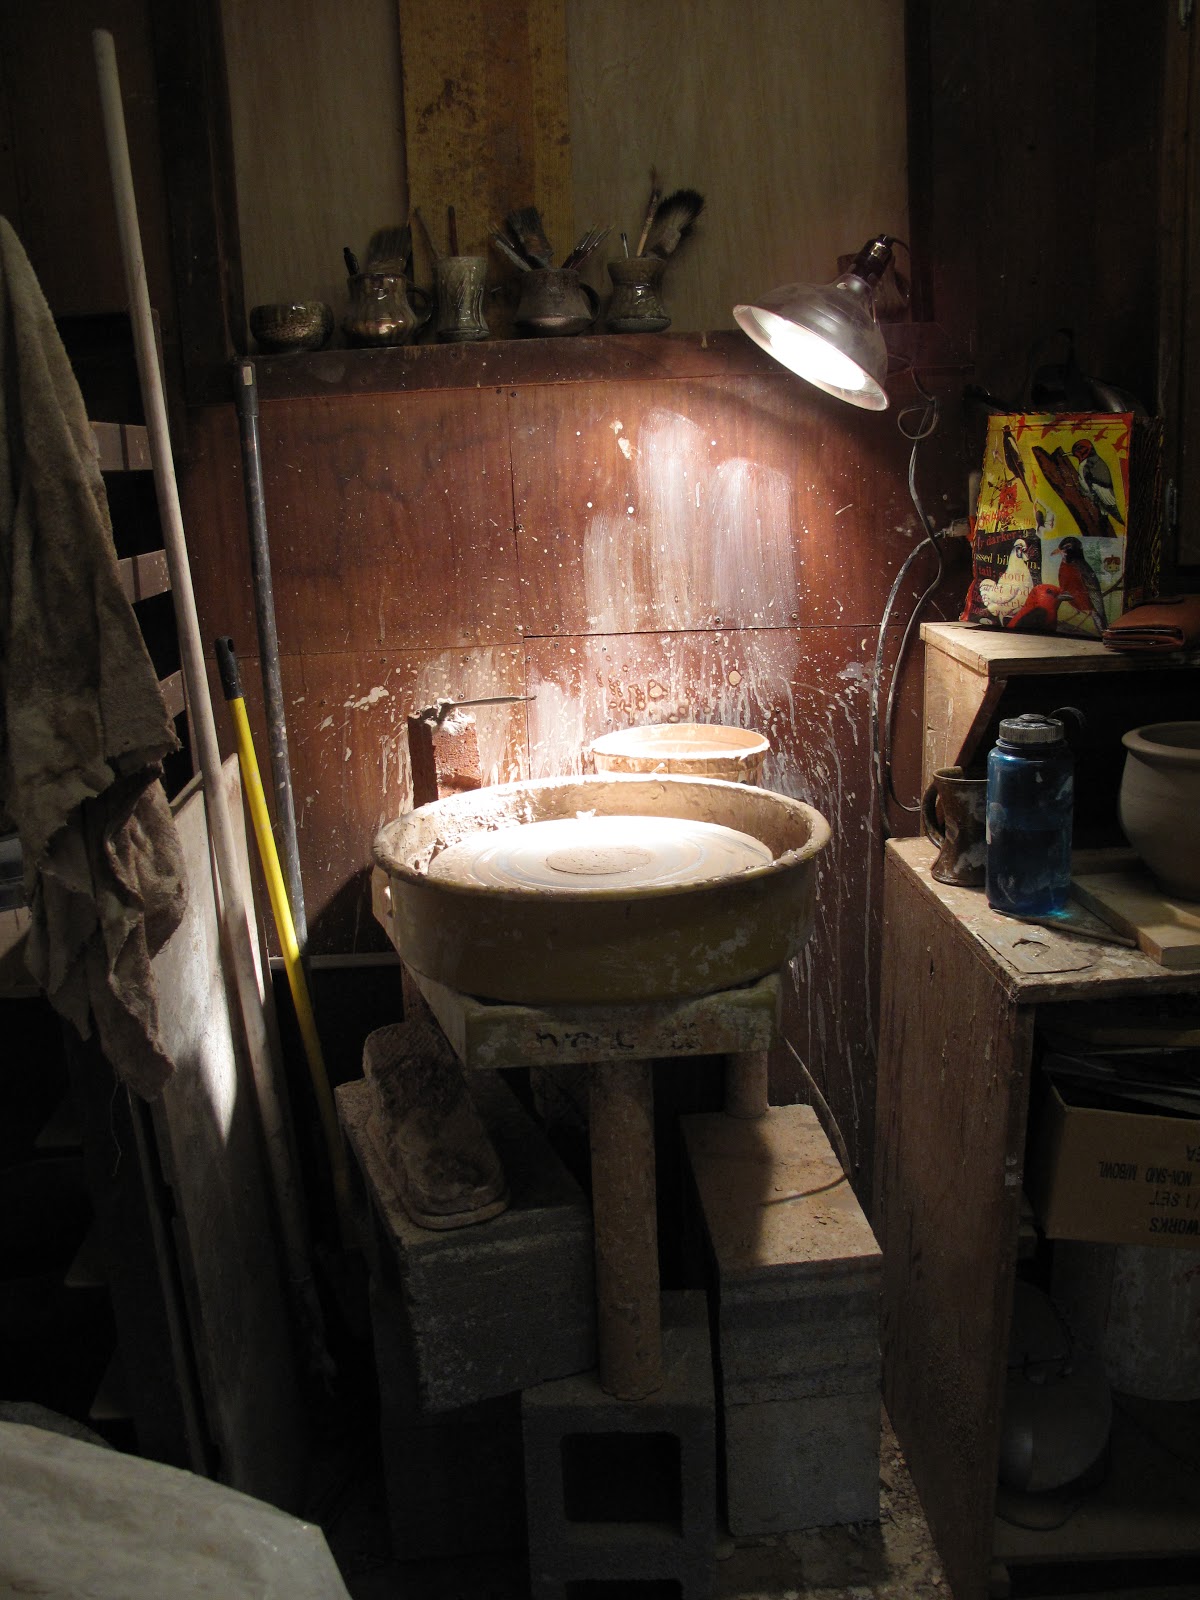
Frozen clay on the side of the splash pan surrounding the wheel
Frozen clay is rather fascinating to look at. It is like looking at the ice crystals that form on windows, just that the beautiful patterns are on top of the clay, or inside of it, made by the moisture in the clay. My big bowls (pictured above) apparently were the worst off of all of my pieces (luckily). Joseph said it was "cool" (not funny!) how the pots were basically opened up where they started freezing.  When I got there on Monday, the large gaps had closed back up, but the pots all needed reworking in order to smooth out the lines, make everything round again, and get the bubbles out that formed when the gaps closed up. It was a nightmare! Here are some images of the inside of the bowls. Where the fine, raised lines are, that is where the pots opened up in large gaps when they froze:
Lines where the clay froze and opened up

Lines and bubbles where the clay froze and opened up
 I wondered, what did potters do historically to keep things from freezing? Did they have to keep a fire going constantly, or was a kiln going frequently enough in the vicinity of the drying room to keep everything toasty, or to dry things out quicker? I have read about potters having holes in the ground beneath the floor of their studios where they stored clay to keep it from freezing, but what about the pots? What do potters who do not have their studio near their home and do not have heating systems other than wood do? Any readers who could weigh in on this, it would be greatly appreciated. I am looking to move my studio to our farm, and don't want frozen pots next winter!

Friday, February 10, 2012

Handles

My usual handle
 For every potter I have ever worked with, I have learned different techniques for attaching and shaping handles. I made some mugs a few days ago and was attaching handles yesterday when Joseph demonstrated how he makes his handles. My usual handle shape is in the photo above.
Joseph's handle
The photo above is the handle Joseph demonstrated. Then I made a few handles. I think I will make some more mugs and continue trying out this style of handle. I do like that the edges of the handle are less sharp, but I have not decided whether I like the rounded juncture at the top.I have also been trying to make pieces of pottery much thinner than I have ever made them, and it is resulting in either some George Ohr sculptures or some decent looking mugs. 3/4 of a pound for a mug! Not a surprise, I know, and I know it's possible, it's just something new! Lots of learning!
My attempts at making a handle similar to Joseph's demonstration

Saturday, February 4, 2012

How do you throw?

My little corner of the world at Joseph's
I have thrown on the pottery wheel sitting down for nearly ten years now. I've played around a bit with a kick wheel and tried a little throwing while standing up. At Joseph's I have been throwing on the wheel standing up. For making the larger pieces I have had to stand on several large bats in order to have more height (yeah, yeah, don't laugh). It's kind of a balancing act, but I really like the setup!

Wednesday, February 1, 2012

Throwing Bigger Pieces

 In apprenticing at Joseph Sand's I am learning about some of the techniques he uses to make larger pieces. While I am not up to the size of the pieces above, I did make two smaller versions of the larger vessels. I threw four roughly 10-12 pound sections this week. The bottom half has a galley and the upper half has a thin rounded edge.The bases for Joseph's pieces above are two 20 pound sections. I am working up to that! It certainly has been a learning experience to grasp (literally) how to manage large amounts of clay!
Sections
Today I joined those pieces together to make what I am plotting as a decorated water cooler. I made the lids today and will finish them up on Friday. I will try and take some more detailed photos of the process when I join the sections I made today.
Joined vessels from the 4 sections