Showing posts with label Fifty-Two Form Project. Show all posts

Wednesday, April 2, 2014

52 Form Project- Week 11


The 52 Form Project 

What is it?
My 52 Form Project is devised to help me stretch my creative muscles, explore new forms, or finally get to making forms I have been wanting to try for a long time. I am planning to make a new or modified form for every week of this year.
How can you help?
Your input on the forms, their shape, decoration, appeal, and function would be greatly appreciated. Some forms, if they seem like they may do well in the market, may become a part of my regular production.
Delayed Week 11
Week 11's form was a bit thrown together, literally and figuratively. It admittedly was not the focus of my week since I was absorbed in getting things finished for the kiln firing. Then I was absorbed in the cleaning, packing, and the show. So it goes.

Finished piece before the firing
However, this form has been on my mind, and I think it was something I was edging toward in week 2 with the lobed flower dishes. I've been hesitant to make a footed dish since I fire with wood and have to prop things up to protect from the salt, but I forged forward to give it a try.
Trimmed, low dish
First I made a low, wide dish and trimmed the bottom to have rounded edges.
Foot thrown off of the slightly-dried base

Small cuts into the foot to make it have three sections
Then, I  threw a foot off of the dish. So, the dish set up for a bit until it was a little past leather hard, which allowed me to literally throw a blob of clay onto the base, pull it outward, and then raise it to make a foot. Because of the need to prop the piece up in the kiln, I cut the foot into three sections so that it could have the chance of balancing itself if it got a little wobbly in the kiln. 3's and 5's balance much better than even numbers when making cuts.

I slipped the base and rim with a white slip and decorated it all over with cobalt blue slip.

I was pleased with how they turned out in the recent kiln firing, too. The base fired fine and it seems pretty level overall.


For one dish, I cut into the base and created a pattern that pierced through the wall. I was not terribly impressed with the outcome though, and enjoy the other base much more.  
Perhaps with the slip it just did not come out as smooth as I was hoping, but I also think it detracts from the overall decoration, particularly on the rim.

Thanks to the enthusiastic response to our fundraiser we just launched! We're still working our way toward 100 bottles though, so don't miss out on the opportunity!

Saturday, March 15, 2014

52 Form Project - Weeks 9 and 10


The 52 Form Project 

What is it?
My 52 Form Project is devised to help me stretch my creative muscles, explore new forms, or finally get to making forms I have been wanting to try for a long time. I am planning to make a new or modified form for every week of this year.
How can you help?
Your input on the forms, their shape, decoration, appeal, and function would be greatly appreciated. Some forms, if they seem like they may do well in the market, may become a part of my regular production.
Week 9 and 10
Sorry for the break in posting about the 52 Form Project. Broken wheels and power outages have a good way of throwing a wrench into the works, or making you more flexible!

As a part of the 52 Form Project, I wanted to revisit a form I made several years ago. The lidded dish I often called a "butter dish" until I was repeatedly asked if it were possible to use it for other purposes. They are made of two pieces, a low dish and a rounded lid.
I am excited to see what these dishes will look like in the kiln firing. I made sure to glaze the interior of the lid. The first time I made this form I found that the interior of the lid stayed very dry, which I think could be seen as disconcerting.

 I also made an attempt at a lidded dish with two flattened sides. I cut  the base much like the way in which I made the baskets, but rather than cutting one feather shape in the base, I cut two on either side of the dish base.

Courtesy, Arizona Daily Star
For my 10th week, I found some inspiration in a 100 year-old potter named  Rose Cabat. I read about an exhibition of her work opening in Arizona, and really wish I could see it in person. I particularly enjoy in the interview that she said, "I didn’t consider it a career...It was what I felt like doing. … If I didn’t like it, I wouldn’t do it.”
Courtesy, Invaluable.com

Rose Cabat makes what she calls "feelies" which are seen in the photo above. I don't tend to be attracted to a form like this, but I think through my interest in her life and work as a potter I am fascinated by the form, the name, and the glazes.
When I went into making the form though, I found myself reverting to the familiar ovoid shape. I made a few pieces that admittedly look basically like ovoid bottles without handles, but then I went toward a different shape.

I have a terrible time leaving enough clay at the shoulder and neck for making a small bottle neck or opening.  Because of this, I found myself with an ovoid shape (which I love) and a simple, cupped rim. I think it might have some potential as a decorative vase, but I will reserve my final judgement for after the kiln firing. Here is how the other decorated pieces ended up:
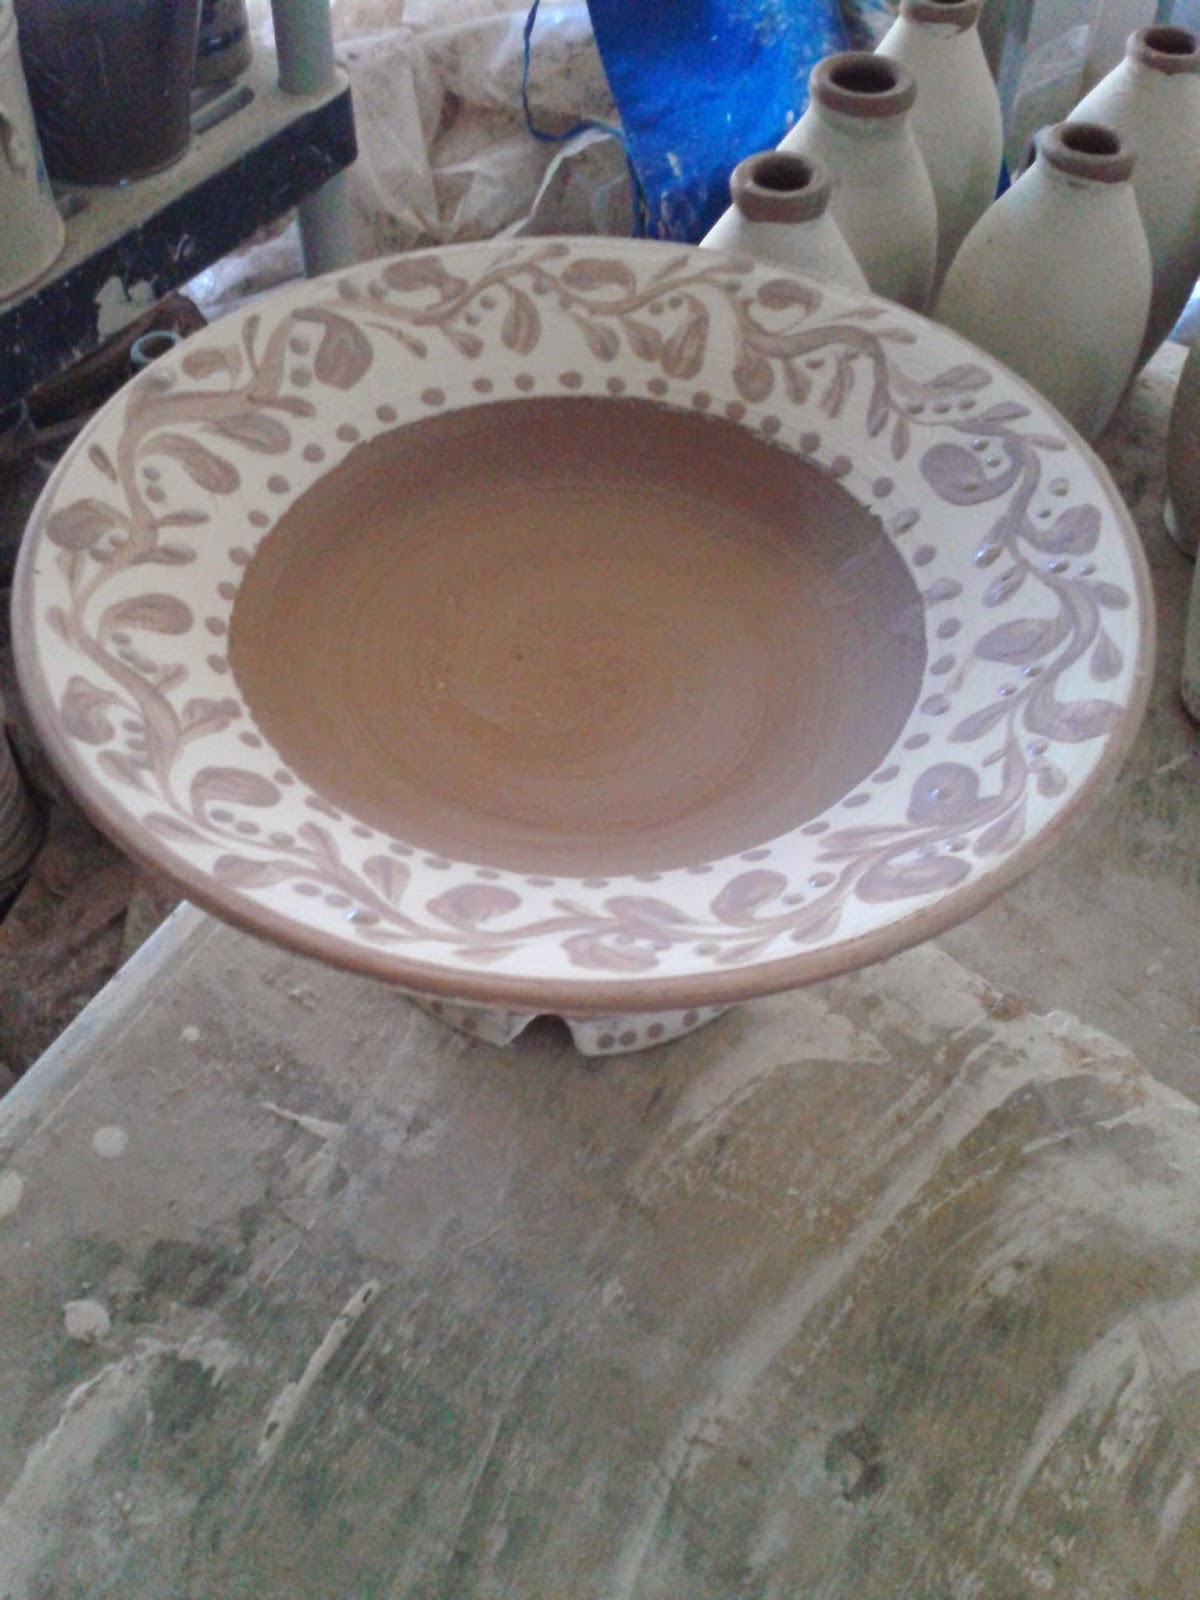
White slipped surface with a scratched design


 I am going to work a little more on this venture. Making the ovoid shapes with the open rim (as opposed to the bottle shapes) felt really good and the design feels like something I want to return to. The bottle shapes felt just like that, bottles. If they had not dried out so quickly with the power outage, I think I would have just put handles on them, because they just look like bottles to me. Maybe I will also go back to attempting some "feelies!"

Thursday, February 27, 2014

52 Form Project- Week 8


The 52 Form Project 

What is it?
My 52 Form Project is devised to help me stretch my creative muscles, explore new forms, or finally get to making forms I have been wanting to try for a long time. I am planning to make a new or modified form for every week of this year.

How can you help?
Your input on the forms, their shape, decoration, appeal, and function would be greatly appreciated. Some forms, if they seem like they may do well in the market, may become a part of my regular production.

Week 8

Sorry for the delay in getting this post out for last week's form. I wanted to wait because I was able to tuck a few of this form into the recent kiln firing. I was very excited about their results and waited to post and share!
Last week's form was a double bowl, made by basically squishing two wet bowls together. I made them with about 1 1/4 pound balls of clay (for each bowl). The first step was the make a few bowls and put them on a dry bat or board (as seen above).

Wet the bat

Slide the second bowl into the first bowl
Then I  put a little water on the bat in front of the other bowl, threw a second bowl, and slid the two together. Because the walls are wet, they make a good adherence to one another. Simon Leach also has a good video on the basics of putting a double bowl together with this video:
Leach puts a strap handle over the top of the piece, but I went for a different approach.
Bowls together with pulled wall

Pulled walls like a pitcher lip

Much like pulling a spout or lip for a pitcher, I grasped the wall between the two bowls and pulled upward to make a little arch. The wide rim on the bowls helped add some clay to the wall and made this process a little more possible.
Feather cut out

Smooth edges with fingers
Rather than waiting for the bowls to set up, I cut a feather shape into the wall between the bowls, and then smoothed it out, making a little handle.

Squeezing the sides to level the bowls
On  few of the sets the walls dipped in at the juncture, and I found squeezing the sides of the bowls put them back into basic level with one another.


Where that didn't work out to my liking, I fluted the edge, also like turning a pitcher lip over, and created a decorative edge on the bowls.
Row of bowls

Smaller double bowls or the double-dipper condiment dish!
I am rather fond of this form, and have also tried it out with my little condiment dishes to make double-dipper condiment dishes! Here are some photos of the finished pieces from the kiln firing:

I stamped the front side of the bowls with "Liberty Stoneware"


Monday, February 17, 2014

52 Form Project- Week 7

Our chicken ladies
The 52 Form Project 

What is it?
My 52 Form Project is devised to help me stretch my creative muscles, explore new forms, or finally get to making forms I have been wanting to try for a long time. I am planning to make a new or modified form for every week of this year.
How can you help?
Your input on the forms, their shape, decoration, appeal, and function would be greatly appreciated. Some forms, if they seem like they may do well in the market, may become a part of my regular production. 
 
Week 7
We have some lovely ladies on our farm - ladies of the feathered variety! Fresh eggs are hands down one of life's great pleasures- the richness of the yolk is always alluring, and the flavor cannot be surpassed by any grocery store eggs. So last week's endeavor was to make a few chicken waterers for potential use. Stoneware is a great material for chicken waterers because especially in the summertime, it will likely keep the water cooler for longer periods of time.
Live Auctioneers
I really enjoy the form such as the historic chicken waterer above, and also the waterers that are in the shape of a jug with a cut at the bottom. That form is probably easier to make in a lot of ways, but I have some hesitations about it.
 
A two-part chicken waterer I found at an antique store
In experience with waterers, I know they have the potential of making algae on the inside. This could perhaps be deflected by glazing the inside of the one-piece waterer, but it seems like you would likely need to bleach it, and that could transfer to the chickens (not good). I think the two-part are much more conducive to being cleaned and easier to maintain. I hesitate to make forms that may be rendered impractical and just put away after it gets too frustrating to use it.
Initial conical shape
 I made a 7 1/2 pound conical shape that when it set up, I threw a handle on top of it
Dish with interior lip
 I made a dish to match the base of the conical shape.
 The trick with the waterer is that the hole cannot be above the rim, so that it can glug water out on its own through gravity. Basically, as the water in the exterior channel depletes, the little "glug hole" releases more water to fill it. 
 So the hole at the base of the conical shape is very short and small.
 I put some white slip at the top and plan to decorate it a little bit.
The dish also has a cut on the interior channel to release water from the inside. 
Stamped chicken waterer
I stamped a few of them around the top. One of them says, "CHICKEN GOSSIP AROUND THE WATER COOLER." These won't make it in the upcoming firing, so we will have to wait until March for the final result! I am loading the kiln this week as we head for 70 degree weather!